Be it screensavers, desktop wallpapers or font type and sizes, visual customization at the OS level is usually important to all kinds of users. Recognizing this, Microsoft has made it easier than ever to apply and adjust individual themes with Windows 7. We looked at this last week showing you how to find hidden themes buried in your hard drive as well as sponsored ones available through Microsoft's online Personalization Gallery.
This time around, we are going to show you how to customize the Windows 7 login screen. There are various methods to accomplish this, with and without third-party software. I understand many people might not want to rely on a third-party application, while others would appreciate a quicker, safer route. First up is the more hands-on approach, and then the utility.
Step 1: Open the Windows Start menu and enter regedit into the search bar.
Step 2: Right click on HKEY_LOCAL_MACHINE and select Find.
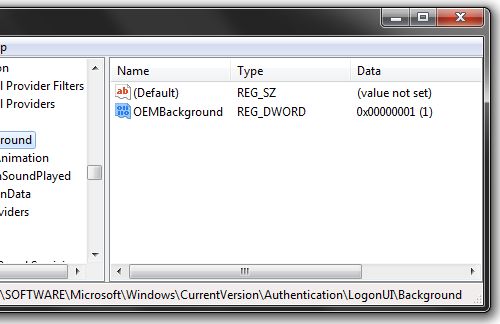
Step 3: Search for OEMBackground, which should be in Computer\HKEY_LOCAL_MACHINE\SOFTWARE\Microsoft\Windows\CurrentVersion\Authentication\LogonUI\Background. If the key does not exist, add a new DWORD value with the name OEMBackground.
Step 4: Double click on the entry OEMBackground, and change the value from 0 to 1.
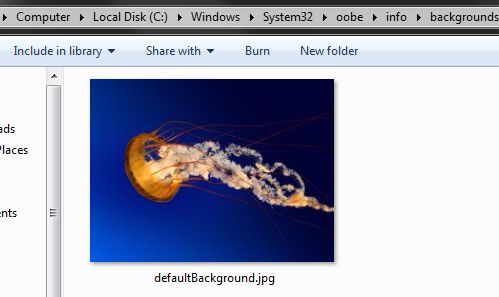
Step 6: Create a new folder named info, and open it.
Step 7: Create a new folder within info named backgrounds.
Step 8: Rename your desired wallpaper as backgroundDefault.jpg and place it inside the folder backgrounds (images must be less than 245KB in size).
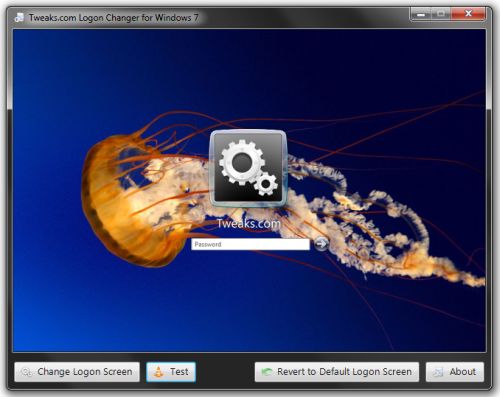
The software is ridiculously easy to use, doesn't require installation, and it even has built-in tools to automatically resize and recompress your images while leaving the original file untouched. The Logon Changer also lets you quickly change your logon wallpaper back to the Windows 7 default.
0 Responses to How to Change the Logon Screen on Windows 7